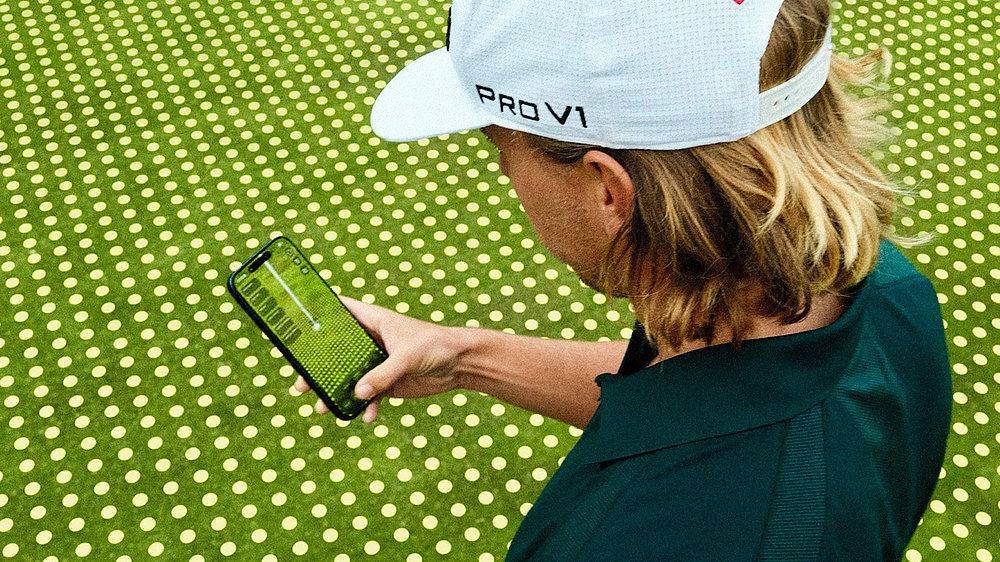
Setting up a putt in PuttView takes less than a minute once you know the steps. Here is everything you need to get accurate lines on the green.
Stand two steps behind the ball, facing the hole. Hold your phone at a steady ~45° angle throughout the scan. An indicator on the right side of the screen shows you whether you are holding your phone at the correct angle. A stable position gives you more accurate results.
Before you start scanning, make sure there are no objects or people between you and the green. A clear view leads to a clean scan.
Tap "New Scan" to begin a new session. Once the scan is active, tap "Set Ball" to start placing the ball position.
Aim the on-screen indicator at the ball. The indicator automatically snaps to the ball, so you only need to get close. Tap the checkmark to confirm. The app locks in the ball position and you are ready to set the hole.
Tap "Set Hole" and walk slowly toward the hole. As you approach, ground dots will appear. Keep moving until they turn green, then center the hole in your view and tap the checkmark to confirm.
Take your time here. A well-confirmed hole position is the foundation for accurate break lines.
Your putt is now set. Before reading the line, check that the stimp setting in the app matches the actual green speed. If the lines look too aggressive or too flat, adjusting the stimp will bring them in line with reality. If you need help finding the right value, take a look at our Stimp guide.
PuttView lets you move freely around the green after the putt is set. If the visuals look off from a different angle, you can fine-tune the setup at any time: simply tap "Set Ball" or "Set Hole" again to adjust the position. There is no need to start a full new scan.